Showing posts with label chickens. Show all posts

Wednesday, August 10, 2016

Farm Harmony

Sometimes everyone just gets along and it's awesome.


The rabbits and chickens decided to hang out together in the high grass while Champ watched the littles in the pen next door.


My little Snaggles still kept watch just in case.


But Jellybean seems perfectly comfortable letting the older hens hang out in her pen and help with landscaping duties.  


Wednesday, August 3, 2016

Straw

Straw bale gardening wasn't for us.  Here's what I learned and where my internet research fell short...

With my hard red clay, breaking ground without a tractor is a lot of work.  Not being 100% sure where I wanted to put a large garden, putting straw bales around the chicken runs would in theory serve two purposes.  It would make the ground underneath softer and at the end of the season make a nice "bed" around the chicken coop without a lot of digging.  And, it would give some much needed shade to the chickens, especially once the plants were nice and tall.


Because the chickens are a fair way away from the house, we have no running water near the coop. We transport fresh water via five gallon buckets for the animals.  I figured that putting the straw bales around the coop and run would also give me the opportunity to recycle the not-so-fresh water and have a watering source for the plants close by.  So as usual, I started researching the internet and came up with a plan.  


My folks helped me locate a local source for straw and 24 bales later, I had nice tight straw lined up on both sides of my 30' run.  I soaked the bales and added fertilizer as recommended by Modern Farmer. Then after a few weeks, the twins and I planted squash, tomatoes, peppers and cucumbers. We also made some potato towers with the composted straw from the chicken runs and planted a whole bunch of seeds in cups to hopefully transplant. 


Unfortunately, our seedlings didn't make.  Our May was very dry and even though I tried to stay on top of watering, the seeds nor plants stayed damp enough.  Then we noticed the seedling cups were turned over and larger plants that were nipped off.  What no website mentioned was that I had basically setup the perfect habitat for mice.  

I gave the little rodents dry homes of straw right next to a food source of chicken feed.  They tunneled under the fence and straight to the feed.  They ate all the cucumber and squash plants and nipped off leaves of nearly all the others we had planted.  They also ate all the seeds in the seedling cups, germinated or not.  Luckily we haven't seen any snakes and we haven't tried to poison the mice because we don't want to affect a chicken that may catch one.  


Now the chicken's get a bale of straw to play with every week which my little Snaggles (above) approves of.  The bales are breaking down and full of grass seedlings which they love not to mention, the chickens get to play with any mice that don't escape.  Also, thanks to a rainy June and July, a few of the tomatoes and pepper plants have bounced back.  

So before you invest the time and money into straw bale gardening, be aware of the pest problem that may come along with them.  We will not be attempting this type of gardening again.  Not only do the bales bring in the mice, but they do not, as advertised, require less watering than traditional gardening.  In fact, in our experience they may require more water.  For us, the expense of the straw, plants and soil were by no means worth the few tomatoes and peppers we may harvest.  


On a positive note, the potato towers weren't affected as much by the mice and produced a basket full of pretty new potatoes that were delicious.  Had we focused more on watering the towers, I think we would have doubled our harvest.  The potatoes are super easy to harvest and the kids also loved hunting through the straw and soil.  This method of planting potatoes is definitely something we will try again.  


Friday, March 11, 2016

Dinner

The ax finally dropped.  Our roosters became a problem and all our efforts to get rid of them were unsuccessful minus the obvious solution.  We made sure they had a great morning and then that afternoon we explained to the kids we were having the roosters for dinner.


Thanks to some helpful posts online we used a small bucket with a hole in the bottom for the first part of the butchering process and opted to skin both roosters instead of plucking.

Here are a few things we learned the hard way:

  • Roosters are heavy so if you are hanging your bucket, make sure you have it attached securely. The first (lighter) rooster was fine.  The second, larger rooster broke the bucket handle.  
  • Obviously roosters are physically different from chickens.  Hopefully I will not have to butcher any more roosters, but if I do, I will try to find more specific information about butchering a rooster versus of a hen.
  • Also something I didn't expect was the temperature.  I've cleaned many fish over the years, but they are cold blooded.  That whole chicken from your meat market is cold too.  I wasn't prepared for skinning a freshly killed warm-blooded animal. So if you are doing this for the first time, know that the animal is still going to be warm.  
  • Lastly, our roosters were a year old which made them way too old to be decent broilers. We skinned the roosters knowing we would have to boil the meat.  The meat was even tougher and darker than I expected so we opted for a recipe that involved shredded chicken.

As for the three younger people, they seemed to take everything in stride.  We explained the roosters had enjoyed their life and lived in much better conditions than the chickens that supplied our local grocery store. We explained that their aggressive behavior was getting worse and that in order to keep our kids and other animals safe, we felt like it was time to say goodbye.  The kids were very curious about skinning the roosters and processing the meat so in addition to not being wasteful, there was a short anatomy lesson.  Then for dinner we had Buffalo Rooster Bombs that were a hit.


In the end, I think I took it harder than anyone.  I had raised both birds since they were little more than a day old.  That being said, I understand it was a necessary part of not only raising chickens but eating meat. The whole process makes you so much more aware of where your meat comes from and more importantly, the cost of that meat.  I think that is a lesson everyone should learn.  

Wednesday, February 24, 2016

Raising the Roof

I'm 5'9" and with my usual topknot, too tall to stand up straight if I run netting straight across the 6' kennel panels that make up our three 30' chicken/duck runs. Our more adventurous chickens have taken to exploring during the day which doesn't' really bother me.  My better half however is not a fan of the unsupervised free-ranging.  So my super sweet hubbie re-designed the netting system for my birthday and it's awesome.  

The original idea was to use a kennel roof and cover kit in the center of the run to keep the netting raised up above the rest of the frames.  I need would need three, one for each sectioned run which would be over $300 without the netting and wind could be an issue.  

The second idea was to use fence clamps to bend 12' lengths of PVC over each of the three sections to achieve a "hoop" (similar to this) that I could then drape a garden netting over. The longest length of PVC my local Lowe's carries is 10'.   The garden netting that I intended on reusing was too narrow and inflexible to stretch across the 10' length between kennel panels.  Without an arch in the horizontal PVC pieces, the heavier weight caused the netting to sag below the 6' panels.

Our final solution was a more substantial, husband-designed PVC frame with a lighter weight netting. The framing cost us around $80.  The new netting brought the project total up to $110, almost a third of what the original idea would have cost. 


This is how we constructed the frame:
  1. Connected the fence clamps to the kennel frame and installed 1' PVC pieces vertically.
  2. Joined a PVC elbow to the vertical 1' pieces and ran 10' PVC pieces horizontally across the sectioned run to another elbow and 1' vertical piece of PVC installed with a fence clamp.
  3. Stretched new 7' x 100' netting/rolle fencing over the entire frame running the 30' length of each section, We overlapped in the netting in center and used zip ties to secure the netting to the PVC frame. Around the edges of the kennel panels, we attached the netting directly to the chain link fencing.    

Not only is this new framing system more sturdy than my hoop idea, it adds over a foot in height to the runs. We used three instead of four frames because we didn't need the height over the lower coop and the larger coop is taller than the frames anyway.  We ran the netting over both coops and connected it directly to the chain link fence.  The new system contains the chickens, deters predators but most importantly, I can stand up in the run!  It doesn't hurt that keeps my messy bun from becoming a complete nightmare. 


Update:  We recently had an ice storm and although the lightweight netting sagged under the pressure of all the ice, the frames held strong and the netting bounced back into place after all the ice melted.  We have one more section to complete and then it's time to make sew some grass and make some upgrades to the coops! 


Wednesday, February 17, 2016

Boys

The boys are causing headaches again.  We are back up to three drakes because everyone couldn't place nice at the new home.  The roosters are becoming overly protective of the ladies and now I have to literally watch my back when I collect eggs.  And, I'm struggling with the idea of actually having to butcher my birds.
  

As beautiful as the roosters are, no one in our area is interested in feeding a chicken that doesn't lay. The recipe for duck that I've been given is "cook them on a cedar plank, throw away the duck, eat the plank".  So now, as a meat eater, there is the hypocrisy of having animals that I refuse to eat but buying their counterparts in the meat department of my local grocery store.


How do you justify feeding a farm animal that doesn't serve a purpose other than being really cute when they swim in the water trough or having beautiful feathers? More importantly, how can you justify not butchering an animal when it may cause a threat to you or your children if it gets more aggressive?      

Monday, January 4, 2016

Falling Behind and Catching Up

A lot has been going on in our little world so here's an update:

We managed moved our little farm over onto a newly graded 1/2 acre of land as mentioned in the Carolina Red Clay post from July.   Thanks to the torrential rains this fall and early winter, the red clay is still winning.


After the craziness of moving a 10' x 20' building, two coops and a dog house, all the runs are set up and really working out well.  Our goal this winter is to upgrade the coops, add some ramps, a more permanent pond and renovate the building into a cute little barn.

Four little ducklings all ended up being drakes. At least they were consistent, right?  We are down to two, Edward Gray (formerly Anna Gray) and Sunki.  The two other huge Pekins went to a happy home down the way to keep a single drake company.


The new chicks from a local hatchery have been a learning experience.  We lost one chicken early on, and then two of the three pullets left ended up being roosters.  The roosters are both beautiful birds and mild mannered, but roosters none-the-less.  We paid a premium  because of the breed, a premium in hindsight which was too much to pay even for a pullet.  Needless to say we will be returning to our local farm store for future chicks.


As for the rabbits, they received their own portion of the run partitioned off with fresh grass and an open hutch.  They dug out.  So they were given another portion with a wire bottom.  They figured out how to open the door.  Now we have three free range rabbits who live under the barn and sometimes in their hutch.  They seem quite happy to come and go as they please and I no longer have neighbors enjoying the antics of me capturing rabbits with a fishing net.  We decided we either have the smartest rabbits in the county or the dumbest coyotes.

With the new year upon us, we hope and pray that our family continues to be healthy and happy and our little farm continues to grow.  Happy New Year!

Tuesday, July 14, 2015

Clipped

Should you clip your chickens wings or not?  A few of my chickens have figured out how to clear the 6' fencing around the run and spend some "free" time in the yard.  Of those birds, four were lost to predators while the chicks in the lot were safe and sound.  If I clip their wings am I making them safer or taking away their ability to protect themselves through flight?


After a little research, here is my less than expert take on it.

The pros:
It grounds the chicken.  No more flying over the fence.
It's safe and painless if done correctly.
It's temporary once the chicken molts.

The cons:
It limits the birds ability to flee from predators and takes away their main defensive tactic.
Clipping can lead to injuries by throwing off their balance and equilibrium, especially from high places.
If improperly done, pain and blood loss could occur.

This is a simplified look at it.  The Chicken Chick and 104 Homestead have gone into much more detail on the subject including the proper way to clip.
image courtesy of backyardchickens.com 

For me, I don't thinks clipping is worth it.  Yes, I have chickens who escape daily.  Yes, they sometimes "visit" the neighbor. They most certainly disrupt the mulch in the front flower beds.  But is that worth limiting my birds, not only for the sake of predators but for their general happiness?
It feels like I'm taking away something that I shouldn't.


My husband would respond that 1) I did something similar to Oreo, our buck and 2) they are birds and really wouldn't care.  Oreo's ability to reproduce was a problem I didn't have another answer to and we all know that I don't consider my chickens "just birds".  Netting is inconvenient due to my height but has worked before.  It seems like a more acceptable solution.  So for now, no clipping.


Wednesday, July 8, 2015

Carolina Red Clay

It's been a busy year, so busy that my last blog post was in March.  About that time, our family started an exciting project that has surrounded us with red clay since.

In the fall of last year a timber company came through and harvested 100+ acres of pine trees behind our property.  They cleared almost an acre of pines for us at the same time.  After clearing the underbrush we finally had a grader come in, dig up over 40 stumps and cut in a new gravel drive. The plan was to move all the animals out in the newly graded area and create a little farm.


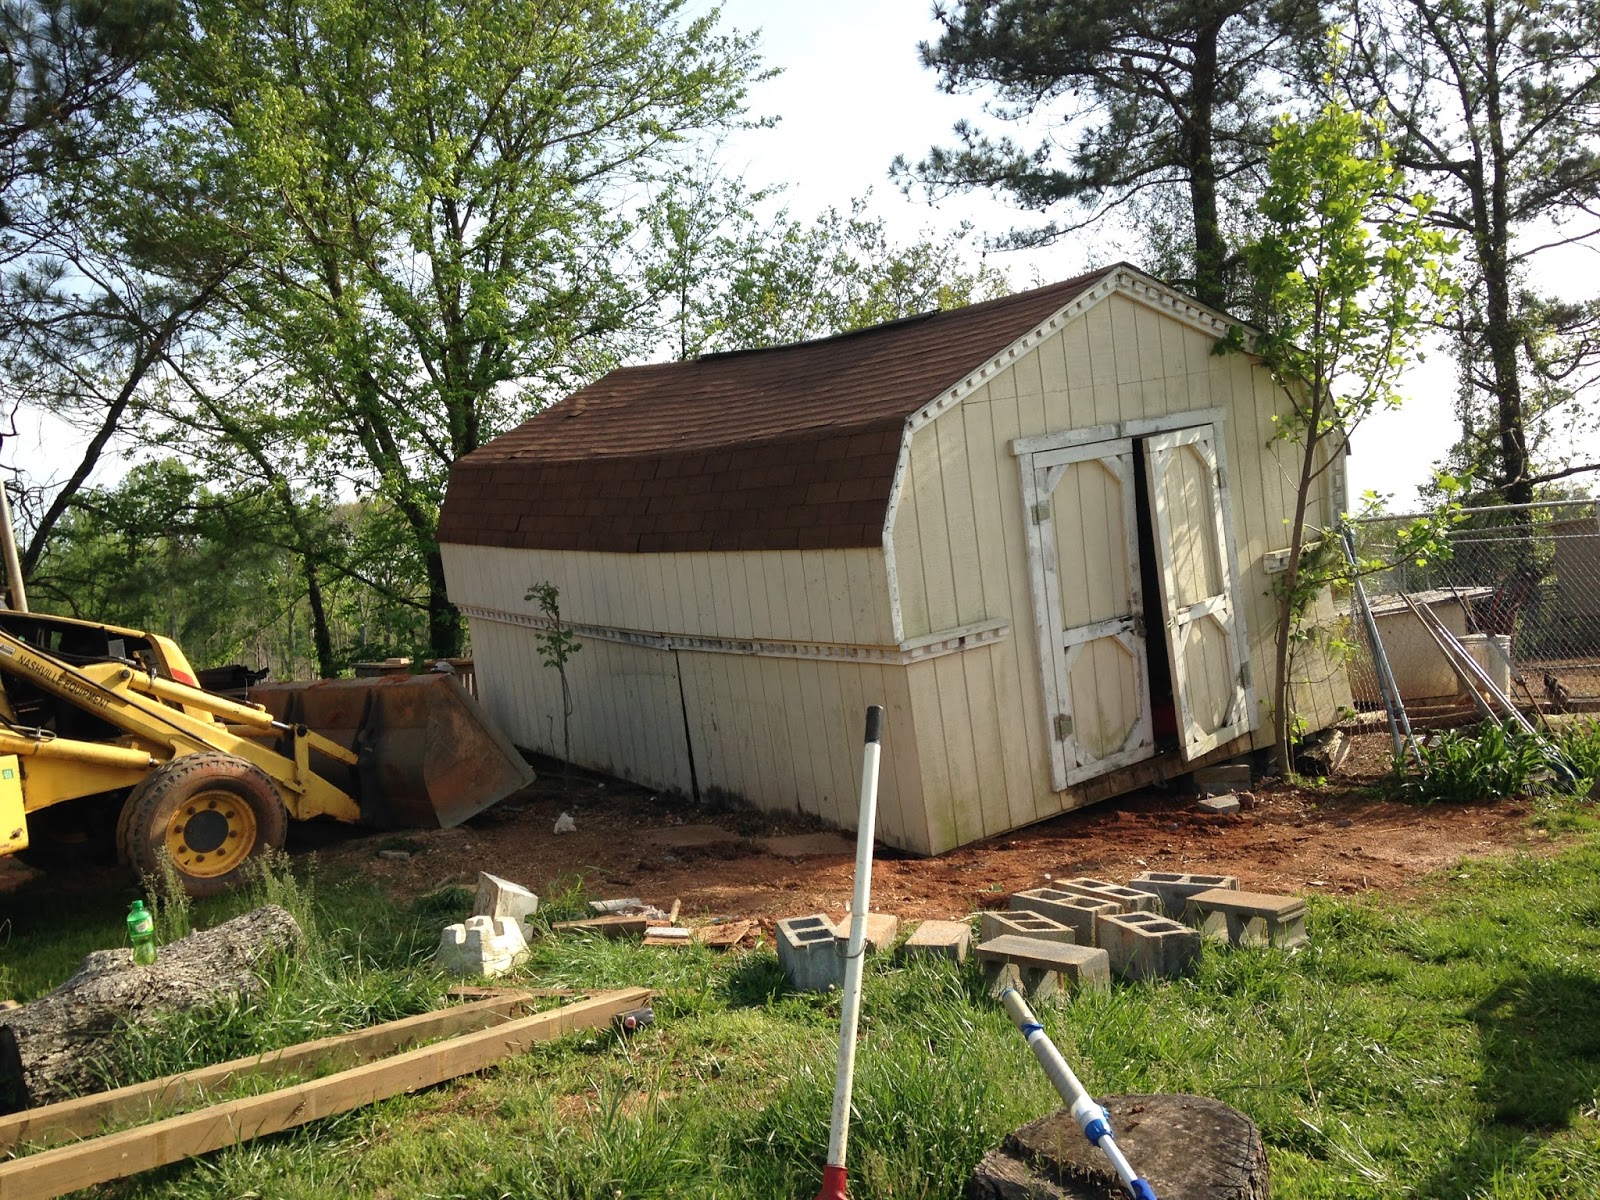
We decided to stick with the housing we had but it would have to move.  So much easier said than done.  Our grader assured us he could move our existing 10' x 20' building.  It ended up on it's side.


After many calls, signed releases and outright pleading, a company that specializes in moving buildings managed to the building across the culvert. 


Mom and I decided that we could move the large coop with "runners".  That didn't turn out so well either. Thankfully a local contractor came to the rescue along with his Skid Steer. Oh, what I could do with one of those beauties!  Dad stepped in with a tractor to move the other coop and doghouse. With fence panels in place we have a little farm taking shape.  The building needs repairs but things are starting to pull together.  We have four lots within a 30' x 30' area, one each for the ducks, rabbits, chickens and dogs.

The hens spread mulch and worked up straw in their pen.  It was necessary to even up the baked ground and cut some of the heat.  


The ducklings were not nearly as helpful but were too adorable to fuss at.  


Shade has been an issue but an old 10' x 10' canopy is standing in for future fruit trees. Grass is slowly replacing the red clay everywhere but inside the pens, of course.  There is still a lot to work to do to reach our dream farm model but I love the new setup and will hopefully share more updates soon!

Monday, March 2, 2015

Recipe Threats

With a late batch of new chicks this year, our new eggs were expected late.  What we didn't expect was unseasonably cold temperatures and dark cloudy days interrupting what little sunshine we did have.  After only a couple of new eggs out of our ladies egg production ground to a complete halt. I blamed it on molting, the extra cold temperatures, short daylight hours and quite honestly whatever else I could come up with.  My husband started threatening the flock with dumpling recipes.


But things are starting to look up.  We started seeing an increase in egg production including the addition of light brown eggs here and there for about a week.  I'm not sure if it was that the extra light from the heat lamp added to the girls' instinct to lay or if the apple cider vinegar, extra grit and extra oyster shell spurred the production.  Maybe the fact that Stephen moved onto chicken casserole recipes was the catalyst. What started with four a day has moved to at least a dozen a day from our 19 hens.

Hopefully a trend begins of nest boxes full of eggs and fewer chicken casserole discussions.  But now what to do with all these eggs?

Wednesday, February 25, 2015

Fair Weather

My husband will be the first to tell you that I'm a fair weather farmer.  I don't like to be out in the run when it's 100 degrees outside but I especially despise the cold wind that's blowing this time of year. He will also divulge that this is the time of year that I sweet talk him most often into caring for our animals.

Despite my lack of enthusiasm, cold weather forced me to make a few modifications to make sure the flock was as comfortable as possible.

In North Carolina I watch for:

1.  Temperatures below freezing for more than 24 hours and/or single digit temperatures.  My animals can warm back up during a sunny day and water can thaw, but not if it's continually below freezing.

2.  Extreme winds and wind chills.  Those breezes drop the temperatures inside and out and take what little heat has been conserved and whisk it away.

3.  Multiple days of wet and cold temperatures combined.  Dry hutches and coops beat wet every time.  Sitting in a nice sunny window or perch can bring body temps back up but continued clouds, cold temperatures and wet birds is concerning.

My solutions?  Insulation, plastic and heat lamps.


The rabbits are surrounded by a full bale of straw stacked in and around the walls of their converted hutch.  It insulates and is inexpensive to replace.  Clear plastic has been stapled over the windows and doors.  A old quilt covered by a waterproof tarp adds a little more insulation to the roof in hopes of keeping that heat inside the house.


The chickens get the same plastic over wire coop windows but I've found that shavings work a little better as insulation in their space. When temperatures really drop, a heat lamp is turned on in the main coop and birds are transferred over.  The rabbits came inside for the first single digit nights but a heat lamp has been added to their space now too.  Quite honestly, there hutch may be cozier than my house when that red light is glowing.

After our first real snow of the year and record low temperatures, I'm certainly ready for fairer weather!

Monday, February 23, 2015

Lovey and Loss

We lost Lovey.  She was one of the chickens that made me fall in love with chickens and Maddie's chick of choice.  We aren't sure if it was a coyote a hawk.  Her little leghorn frame of about 3 pounds and her bright white feathers makes both a possibility and the groups of feathers didn't add any more clues.

We lost three more with still no idea as to what is taking them and all within the week.  Tiny and Fluffernutter just disappeared and Cat left behind another group of feathers.  We were convinced it was coyotes for a while but then heard the chickens pitching a fit just the other day.  When I peaked outside a huge hawk flew over as they all ran for the trees.


Whether the predators have moved on or the chickens have gotten smarter, the losses have stopped. The flock is 19 strong and seems to be thriving.  In the meantime, Maddie has adopted Winnie, our silver Wyandotte, and seems to be taking Lovey's loss much better than I am.  Now to decide if clipping wings are worth keeping the ladies in their run.  Any ideas are always appreciated!

Wednesday, January 14, 2015

Chicken Feed Confusion

16%, 18%, 20%, 22%, Pellets, Crumble, Mash, Layer, Starter, Grower, Scratch .... apparently, chicken feed is more complicated than tossing out some corn.

My chicks both last year and this year began on Starter/Grower Crumble with an 18% protein level. Crumble is absolutely necessary for new chicks.  Their little beaks just can't handle the larger pellet and it takes a chick about three times longer to eat the same amount of crumble.  That cuts down on the dreaded chicken boredom and unfriendly pecking. Disadvantages of crumble for me is that I feel like the chicks waste so much feed.  Crumble (below) also draws more flies that my pellets do.


I prefer pellets.  My laying hens have been eating "Lay Pellets" with a 16% protein level and added calcium since they were 18 weeks old. Pellets that drop out of the chicken feeder are scooped back up by a nearby beak which means less waste and no cake of wasted crumble below the feeder.

So what if I want pellets for my pullets?  My farm store carries a 20% Protein "Grower Pellet".  But can I give that to my layers?  "Well sure!" the guys at the farm store say.  But they are an agreeable bunch.  The same bunch that when asked if I could keep my chickens in my garden said, "Well sure!"  Stripped tomatoes and unearthed pepper plants meant I should probably use the old grain of salt method with the guys at the farm store.


The more protein the better, right?  According to University of California and Utah State University protein levels matter and more isn't always better.  Suggested levels are:

Chicks (up to 6-8 weeks) ------------------ 20% - 22%
Broiler Pullets (over 8 weeks) -------------- 18% - 22%
Laying Pullets (up to 18-22 weeks) -------- 16% - 20%
Laying Hens (over 28 weeks) -------------- 14% - 18%
All Purpose -------------------------------- 16%


It made perfect sense that too little protein meant slowed growth and poor health.  What I was surprised to find out was that too much protein could be just as bad.  Apparently a chicken can grow too fast.  If you are raising a layer, accelerated growth could lead to weak bones and poor laying later on.  That means shorter life expectancy and lower production which are both major issues for a backyard flocks.

My solution is a compromise.  It looks like crumble is still in my world for a bit but I've started mixing in lay pellets as the chicks have gotten older.  The little bit of crumble that the older hens are getting shouldn't be enough to effect their egg production and the chicks seem to still prefer the crumble.  As everyone ages out to over 18 weeks, the crumble will disappear.  At least until next Spring.


Friday, June 20, 2014

Twice the Fun

The twins' birthday celebration was a big deal this year.  They met so many great friends in Kindergarten and wanted them all to see their chicks and bunnies.  A farm themed birthday for girls?  YES!


The picnic shelter was decked out with pink, yellow and burlap.


The dessert buffet was filled with all sorts of amazing goodies not to mention two beautiful pinks cakes for each of my little beauties.


Each table was decorated with burlap runners and topped with homemade pink lemonade play dough favors.


The party decorations were no match for the beautiful horses, new chicks and baby bunnies.


Everyone had a wonderful time and the twins had a very Happy Birthday!


Wednesday, June 18, 2014

Hoop House

It seems that all my "farm time" of late has been spent on housing.  The chicks are full grown pullets. The baby kits are rabbits. All of them are overcrowded, at least by my standards.  Hoop houses caught my eye late last year.  They seemed like a way to not only extend my growing season but keep my sweet chickens from decimating my garden. Of all the designs I found I noticed a few issues I wanted to avoid:

1 - Weight.  I wanted a house I could move by hand and by myself.

2 - Height.  I'm 5'9" and would prefer to avoid back problems while feeding or cleaning up after the animals.

3 - Door Style.  It's hard to put a square door in a arched opening.  Most of the house I saw either had awkward openings or added a tremendous amount of weight with plywood ends and full sized doors.

Based on a chicken tractor found here, I adjusted my design and ended up with what I feel may be a near perfect hobby farm structure that can be used as a chicken tractor, rabbit hutch or raised bed.   I used a single cattle panel and runners so that I could control the weight and easily move the structure.  The cattle panel was arched so that the inside height was over 6' shortening the base to 6' x 6'.  Both ends were hinged to create arched fold-down doors and full access.


The hoop house uses a 4' x 16' cattle panel anchored with barbwire staples to two 8' treated 2x6 runners.


Two 6' treated 2x4's and notched angled braces complete a sturdy base.


PVC pipe attached with pipe straps to hinged 1x4's become the base for arched doors. Chicken wire connected with "J" clips and staples covers the cattle panel and PVC arch to keep critters in or out as needed.


Eye bolts and a sturdy rope make the whole structure mobile.

With a tarp over the back half, a upcycled wooden curtain rod as a perch and a pet carrier as protection against summer thunderstorms, the hoop house was intended as a chicken tractor for the Freds.  Then I saw this:


So the Fred's are in with my older hens, never having set foot in the newly constructed hoop house.

The next pressing issue was more square footage for rabbits.  Remove the perch and the hoop house would make a perfect summertime hangout for the rabbits.  The pet carrier would still keep the rabbits protected and they would love the constant access to fresh grass.  But, thanks to some leftover lumber from our basement renovation and extra hardware cloth, the buns have a brand new raised hutch that will withstand our winter temperatures and minimize rabbits holes.  

My original interest in hoop houses became the current use of my new structures.  Six foot square raised beds hold just enough vegetables for a late summer garden.   My hens are extremely frustrated that they can't take dust baths by my sweet peppers this year or pick the cherry tomatoes straight off the vines.  A second hoop house will hold fall veggies. I'm excited about being able to cover the houses with plastic and harvest well into the winter months.

Now I am officially obsessed with hoop houses and their seemingly unending versatility. Let me know what you think of my design and any ideas on door improvements.  The fold down arched door is easy to construct but you have to walk on it and the not-so-sturdy chicken wire to access the beds.