Showing posts with label garden. Show all posts

Wednesday, August 17, 2016

Sunflowers

Of all the things we've grown this year, the sunflowers have to be our favorite.  They are a minimal investment (we found them for 4 packs for $1) and definitely a maximum benefit.


The butterflies and the bees love them and the chickens will love any leftover seeds.


All of our seedlings may not have made it but the ones that did were definitely impressive!


Wednesday, August 3, 2016

Straw

Straw bale gardening wasn't for us.  Here's what I learned and where my internet research fell short...

With my hard red clay, breaking ground without a tractor is a lot of work.  Not being 100% sure where I wanted to put a large garden, putting straw bales around the chicken runs would in theory serve two purposes.  It would make the ground underneath softer and at the end of the season make a nice "bed" around the chicken coop without a lot of digging.  And, it would give some much needed shade to the chickens, especially once the plants were nice and tall.


Because the chickens are a fair way away from the house, we have no running water near the coop. We transport fresh water via five gallon buckets for the animals.  I figured that putting the straw bales around the coop and run would also give me the opportunity to recycle the not-so-fresh water and have a watering source for the plants close by.  So as usual, I started researching the internet and came up with a plan.  


My folks helped me locate a local source for straw and 24 bales later, I had nice tight straw lined up on both sides of my 30' run.  I soaked the bales and added fertilizer as recommended by Modern Farmer. Then after a few weeks, the twins and I planted squash, tomatoes, peppers and cucumbers. We also made some potato towers with the composted straw from the chicken runs and planted a whole bunch of seeds in cups to hopefully transplant. 


Unfortunately, our seedlings didn't make.  Our May was very dry and even though I tried to stay on top of watering, the seeds nor plants stayed damp enough.  Then we noticed the seedling cups were turned over and larger plants that were nipped off.  What no website mentioned was that I had basically setup the perfect habitat for mice.  

I gave the little rodents dry homes of straw right next to a food source of chicken feed.  They tunneled under the fence and straight to the feed.  They ate all the cucumber and squash plants and nipped off leaves of nearly all the others we had planted.  They also ate all the seeds in the seedling cups, germinated or not.  Luckily we haven't seen any snakes and we haven't tried to poison the mice because we don't want to affect a chicken that may catch one.  


Now the chicken's get a bale of straw to play with every week which my little Snaggles (above) approves of.  The bales are breaking down and full of grass seedlings which they love not to mention, the chickens get to play with any mice that don't escape.  Also, thanks to a rainy June and July, a few of the tomatoes and pepper plants have bounced back.  

So before you invest the time and money into straw bale gardening, be aware of the pest problem that may come along with them.  We will not be attempting this type of gardening again.  Not only do the bales bring in the mice, but they do not, as advertised, require less watering than traditional gardening.  In fact, in our experience they may require more water.  For us, the expense of the straw, plants and soil were by no means worth the few tomatoes and peppers we may harvest.  


On a positive note, the potato towers weren't affected as much by the mice and produced a basket full of pretty new potatoes that were delicious.  Had we focused more on watering the towers, I think we would have doubled our harvest.  The potatoes are super easy to harvest and the kids also loved hunting through the straw and soil.  This method of planting potatoes is definitely something we will try again.  


Wednesday, July 8, 2015

Carolina Red Clay

It's been a busy year, so busy that my last blog post was in March.  About that time, our family started an exciting project that has surrounded us with red clay since.

In the fall of last year a timber company came through and harvested 100+ acres of pine trees behind our property.  They cleared almost an acre of pines for us at the same time.  After clearing the underbrush we finally had a grader come in, dig up over 40 stumps and cut in a new gravel drive. The plan was to move all the animals out in the newly graded area and create a little farm.


We decided to stick with the housing we had but it would have to move.  So much easier said than done.  Our grader assured us he could move our existing 10' x 20' building.  It ended up on it's side.


After many calls, signed releases and outright pleading, a company that specializes in moving buildings managed to the building across the culvert. 


Mom and I decided that we could move the large coop with "runners".  That didn't turn out so well either. Thankfully a local contractor came to the rescue along with his Skid Steer. Oh, what I could do with one of those beauties!  Dad stepped in with a tractor to move the other coop and doghouse. With fence panels in place we have a little farm taking shape.  The building needs repairs but things are starting to pull together.  We have four lots within a 30' x 30' area, one each for the ducks, rabbits, chickens and dogs.

The hens spread mulch and worked up straw in their pen.  It was necessary to even up the baked ground and cut some of the heat.  


The ducklings were not nearly as helpful but were too adorable to fuss at.  


Shade has been an issue but an old 10' x 10' canopy is standing in for future fruit trees. Grass is slowly replacing the red clay everywhere but inside the pens, of course.  There is still a lot to work to do to reach our dream farm model but I love the new setup and will hopefully share more updates soon!

Wednesday, June 18, 2014

Hoop House

It seems that all my "farm time" of late has been spent on housing.  The chicks are full grown pullets. The baby kits are rabbits. All of them are overcrowded, at least by my standards.  Hoop houses caught my eye late last year.  They seemed like a way to not only extend my growing season but keep my sweet chickens from decimating my garden. Of all the designs I found I noticed a few issues I wanted to avoid:

1 - Weight.  I wanted a house I could move by hand and by myself.

2 - Height.  I'm 5'9" and would prefer to avoid back problems while feeding or cleaning up after the animals.

3 - Door Style.  It's hard to put a square door in a arched opening.  Most of the house I saw either had awkward openings or added a tremendous amount of weight with plywood ends and full sized doors.

Based on a chicken tractor found here, I adjusted my design and ended up with what I feel may be a near perfect hobby farm structure that can be used as a chicken tractor, rabbit hutch or raised bed.   I used a single cattle panel and runners so that I could control the weight and easily move the structure.  The cattle panel was arched so that the inside height was over 6' shortening the base to 6' x 6'.  Both ends were hinged to create arched fold-down doors and full access.


The hoop house uses a 4' x 16' cattle panel anchored with barbwire staples to two 8' treated 2x6 runners.


Two 6' treated 2x4's and notched angled braces complete a sturdy base.


PVC pipe attached with pipe straps to hinged 1x4's become the base for arched doors. Chicken wire connected with "J" clips and staples covers the cattle panel and PVC arch to keep critters in or out as needed.


Eye bolts and a sturdy rope make the whole structure mobile.

With a tarp over the back half, a upcycled wooden curtain rod as a perch and a pet carrier as protection against summer thunderstorms, the hoop house was intended as a chicken tractor for the Freds.  Then I saw this:


So the Fred's are in with my older hens, never having set foot in the newly constructed hoop house.

The next pressing issue was more square footage for rabbits.  Remove the perch and the hoop house would make a perfect summertime hangout for the rabbits.  The pet carrier would still keep the rabbits protected and they would love the constant access to fresh grass.  But, thanks to some leftover lumber from our basement renovation and extra hardware cloth, the buns have a brand new raised hutch that will withstand our winter temperatures and minimize rabbits holes.  

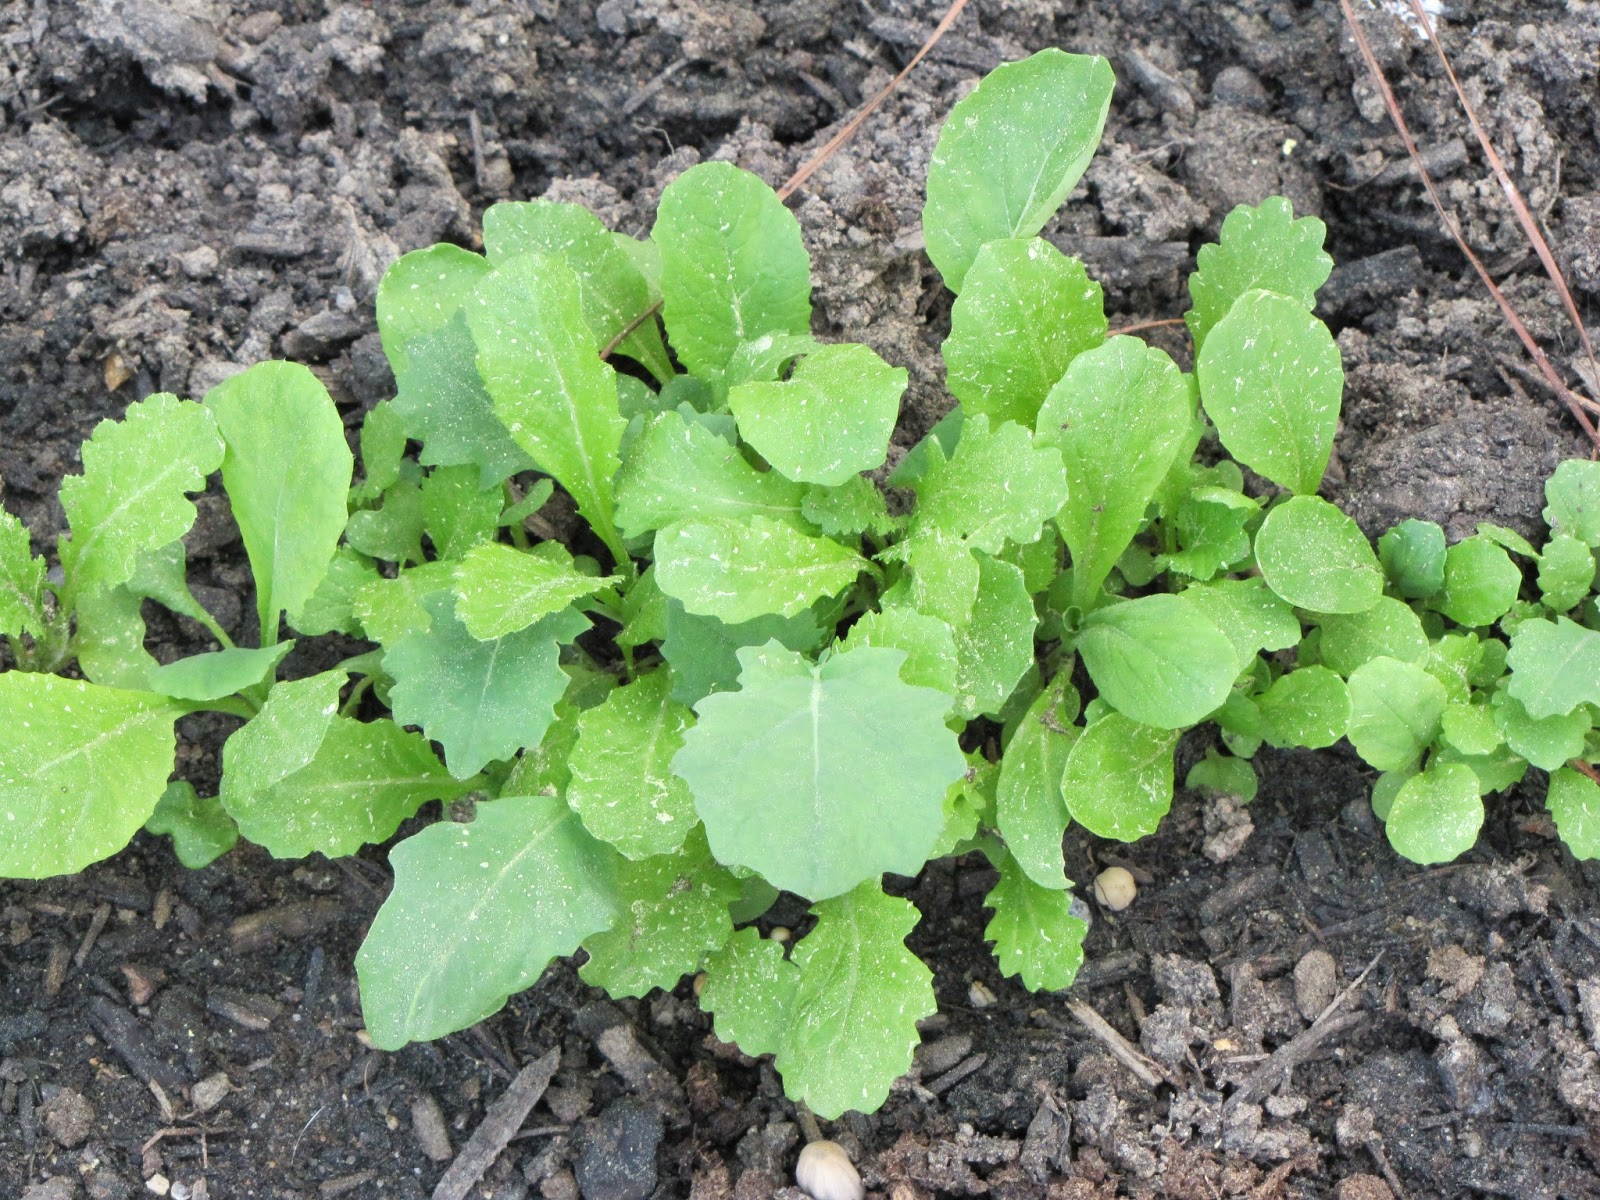
My original interest in hoop houses became the current use of my new structures.  Six foot square raised beds hold just enough vegetables for a late summer garden.   My hens are extremely frustrated that they can't take dust baths by my sweet peppers this year or pick the cherry tomatoes straight off the vines.  A second hoop house will hold fall veggies. I'm excited about being able to cover the houses with plastic and harvest well into the winter months.

Now I am officially obsessed with hoop houses and their seemingly unending versatility. Let me know what you think of my design and any ideas on door improvements.  The fold down arched door is easy to construct but you have to walk on it and the not-so-sturdy chicken wire to access the beds.

Friday, May 23, 2014

In Focus

The week's photos from our little hobby farm.


Honeysuckles in bloom.


Our Buff Orpingtons strutting in the clover.


Buttercream enjoying some spring rye.


Blueberries to enjoy in a few weeks.


Our adopted wild rabbits getting braver by the day.

Wednesday, May 1, 2013

Bugs Be Gone

Although we aren't certified organic, we try to keep chemicals out of our garden as best we can.  Our favorite method is companion planting.  The new discovery this year - radishes mixed in with your spring greens.


Other successful experiments have been garlic cloves planted next to egg plants, basil by tomatoes and the all star bug-fighter, marigolds.  My favorite are the orange ones but not matter what color, these flowers send mosquito  flies, aphids, beetles and even tomato worms running.  Other favorite repellent plants include sage, rosemary, onions and lavender which repel bugs and have other uses, too.

Catnip and mint varieties also work on your common garden bugs but they can spread and reseed so use with care or keep them contained.

When plants won't cover the bug bases, a self-rising flour dusting is a good start.  This is especially effective on squash and cucumber plants.  Sometimes we are forced into a dish soap spray (liquid dish soap diluted with regular tap water in a spray bottle).  The little creepy crawlers really don't like this.  Just be careful not to overdo it on your plants.  You want the little leaves to still be able to breathe. 

Of course this won't guarantee a bug free environment, but here is hoping for less bugs and more vegetables in our gardens!


Thursday, April 25, 2013

Spring's Sprung

Spring chickens aren't the only thing we've been working on.  Our garden made a big move over to the chicken coop side of the property.  Raised beds full of new soil and organic compost will hopefully give our little seeds a happy, weed-free existence.  Thanks to some warmer weather, tiny leaves are starting to multiply.


Spring greens are up and growing fast with mustard, turnip and collard in the mix.  We added radishes on the advice of an older gentleman at the farm store.  Apparently the bugs don't care for the radishes and will leave the rest of your greens alone.  Spinach and lettuce leaves are peeking through next to the three varieties of potatoes: red, white and yukon gold.  The spring onions are taking root, both sweet yellow and purple while couple Early Girls along with one little Lemon Boy will get us started with tomatoes before a few more varieties join the fun when it gets a bit warmer.  Next up, some yellow crook-neck squash, pickling cucumbers and green bean seeds will go in this week after a bit more soil is added to our deep bed. We just have to keep Oreo out of beds and back in the clover.